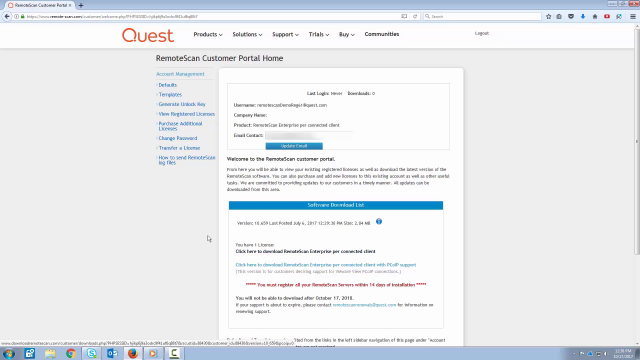
How to register RemoteScan Enterprise or Universal per connected client licenses
 03:53
03:53
Related videos
Introducing RemoteScan - Securely scan documents in Microsoft Azure
RemoteScan enables you to scan documents seamlessly and securely using any Azure hosted scanning application.
01:37
Seamless Document Scanning for Healthcare Organizations
Document scanning plays a key role in any healthcare organization’s digital journey, but those scanned documents and images must be secured and compliant with p...
02:48
Installing the RemoteScan Enterprise or Universal server component
Learn how to install the RemoteScan Enterprise or Universal server component.
02:51
Installing the RemoteScan Enterprise or Universal client component
Learn how to install the RemoteScan Enterprise or Universal client component.
03:45
Introducing document scanning software RemoteScan
RemoteScan connects your document scanners and cameras to software hosted in Azure Cloud, Terminal Server, VMware or Citrix servers. It enables a secure documen...
01:26
How KACE RemoteScan Fits into Your Security Strategy
RemoteScan was designed with security in mind and it supports any IT security strategy. Learn how features like image compression and encryption, along with pre...
01:07
KACE RemoteScan and Higher Education
The administrative and academic departments of higher education institutions can use RemoteScan for a variety of purposes, such as student admissions, health re...
01:11
Who Uses KACE RemoteScan?
Any professional service provider who needs to scan client documents will benefit from the functionality and rapid learning curve of RemoteScan. In addition to ...
00:58
Why Managed Service Providers Value KACE RemoteScan
Managed Service Providers (MSPs) appreciate the flexibility and ease of use RemoteScan brings to customers who need to scan from local endpoints into hosted app...
01:06
