Hi, I'm Luke, and I'd like to welcome you to this On Demand recovery onboarding video.
On Demand recovery is your go-to backup and recovery solution for tenants. With this solution, you can perform scheduled ad manual backups and restorations, even selectively for specific attributes, as well as broadly for all types of objects.
In the On Demand general onboarding video, we showed you how to add tenants and grant consent. Now in this video, we're going to utilize some of that. We'll start in the home screen of On Demand. And then we'll go to our Tenants tab.
As you can see, we have two tenants added from the migration onboarding video previously. However, we're only going to utilize one of these tenants. And when you go to the Recovery tab, you'll notice that there is a Grant Admin Consent button on the widget. And we'll do just that now.
We'll go to the Consent screen and click Grant Consent, and we'll supply the global administrator credentials. There will be a lot of permissions requested, but that's expected of a backup and recovery solution. This is because on demand recovery needs to access all attributes of every single directory object that you back up, and have permission to restore those attributes as well.
Now that consent is granted, a different version of the widget should appear, and we'll be able to click Go on the Recovery widget. This takes you to On Demand recovery. You'll first notice two main areas. The main things you'll want to concentrate on are Manage Backups, Create Backups, and Unpack Backups. There's also a Manage Backups widget in the center of the screen.
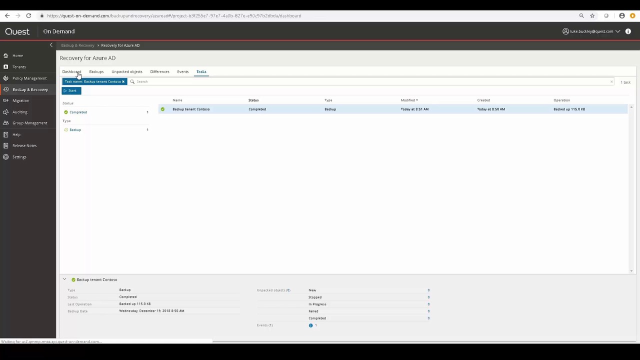
So we'll create our first backup. Here, we can see the two tenants that we have added to On Demand, but we only granted consent for one of them. So we'll create a backup task for the tenant. And we'll fast forward to completion. Now that it's complete, we can see the progress in the main screen, also known as the Dashboard view.
If we click on Manage Backups, we can actually set the retention period and enable scheduling for these backups, as well as specify some multi-factor authentication settings. And you'll notice that when we enabled scheduling, a backup automatically started for this tenant.
Now, when a backup completes, you have the option to select your backup and restore the objects that you want from it. You would do this in the Backups tab. You simply select the backup that you recently had and select the Unpack button. The unpack task will take a little bit to complete, so we'll fast forward to completion.
And then to access what was unpacked from that backup, you would then select the Unpacked Objects tab. Within this tab, it'll display all types of objects that were unpacked from that backup. And you can granularly select the objects that you want to restore over top of your current production.
So just for example, we'll use the Select All check box, and then click the Restore button. You can see that there are various options, and you can get as granular or as broad as you need to. You can restore only specific attributes for these selected objects if you wish, by using the fields below. So after this, you click OK, and the Restore task will actually be visible in the Tasks tab. And you just wait until completion.
And if you'd like to access more On Demand recovery, how-to, and tutorial videos, you can go to quest.com/tv and select the All Products dropdown, and then select On Demand Recovery. There, you'll find many resources that can help you.
So this concludes how to access and grant consent for On Demand recovery, and how to create your first backup. You can consider yourself onboarded for On Demand recovery. Also, be sure to view these other onboarding videos in conjunction with this one. Thank you for watching.

