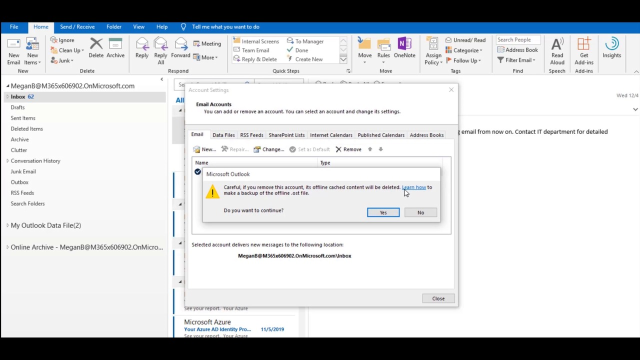
Manually update your Outlook profile with On Demand Migration
 03:23
03:23
Related videos
How to prepare for and migrate a device to Entra ID
On Demand Migration (ODM) for Active Directory helps your transition to the cloud by migrating Windows 10 and Windows 11 devices to Entra ID without reimaging a...
03:02
Entra Device Migration - Workflow Configuration
On Demand Migration (ODM) for Active Directory helps your transition to the cloud by migrating Windows 10 and Windows 11 devices to Entra ID without reimaging a...
03:08
Effortless Entra ID device migration with Quest On Demand Migration
Entra ID migrations just got a lot easier. This video reveals an Entra ID migration solution that helps you simplify the migration process, minimize disruptions...
01:45
Use case example for On Demand Migration
See a use case example for On Demand Migration.
04:42
See how to migrate SharePoint content using On Demand Migration
Keeping end users sharing is essential. In this brief demo, technical product manager Gary Hughes shows you how you how On Demand Migration can help you migrate...
05:37
Quest On Demand Migration onboarding
Quest On Demand Migration onboarding
04:03
Overview of On Demand Migration
See a short overview of On Demand Migration from Quest.
06:05
On Demand Migration Overview
This video demonstrates an overview of the Migration feature at a very high level.
01:29
On Demand Migration: How to migrate Teams chats & Microsoft 365 Groups
Microsoft 365, and Microsoft Teams especially, are at the forefront of your organization’s ability to collaborate. So when you have to migrate this data, you wa...
05:25
Migrating Groups in On Demand Migration
See how to migrate groups within On Demand Migration from Quest.
02:32
Microsoft Teams migration in On Demand Migration
Microsoft Teams migration in On Demand Migration
04:03
Joining a device to Azure Active Directory using On Demand Migration
Whether you’re setting it up for single sign-on, conditional access, or device management, joining a device to Azure AD is significantly simplified with Quest O...
03:20
How to switch and update your Outlook profile with On Demand Migration
How to switch and update your Outlook profile with On Demand Migration
10:07
How to migrate Microsoft Teams content using On Demand Migration
Preserving continued collaboration is essential during a tenant migration. Because Microsoft Teams is the hub of communication and collaboration in Microsoft 36...
05:21